Keto Meal Prep: A Flexible Batch-Cooking Workflow
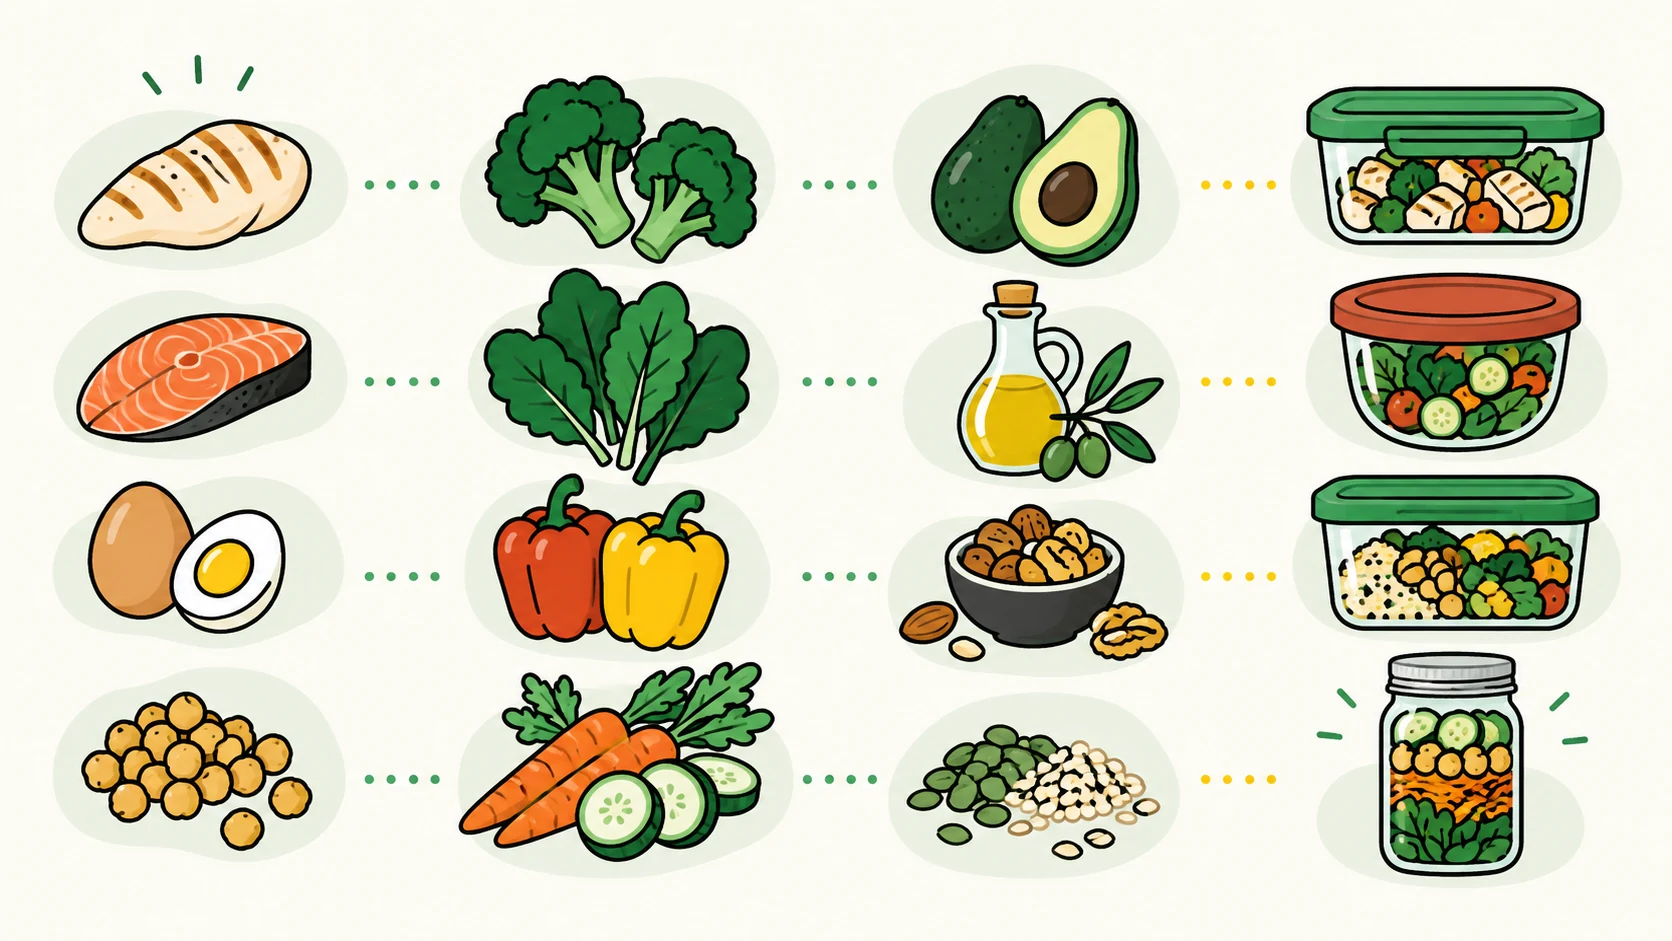
Keto meal prep can be a set of ready components rather than a row of identical finished meals. Cook a protein, prepare a few vegetables, and make a sauce or finishing element. Those parts can become a salad, skillet meal, lettuce wrap, or plated dinner as the week changes.
This page does not set portions or macro targets. Use recipes and current food labels that fit the plan you have already chosen. The goal here is narrower: buy what you will use, arrange the work efficiently, and keep prepared food within official safety limits.
Recipe and storage checks
- Check ingredients
- Cook safely
- Cool and store
- Reheat or discard
Start with the week you actually have
Mark the meals that need advance work before choosing recipes. A late meeting may call for a reheatable freezer portion. A work-from-home lunch may only need washed greens and a cooked protein. A dinner with time to cook does not need to occupy refrigerator space for four days.
The Meal Template Builder can arrange repeatable meal slots without calculating portions or nutritional requirements. Browse the keto recipe collection for dishes that match those slots, then write down four decisions:
- What will be cooked now? Choose components that share an oven, pan, or preparation step.
- What stays fresh? Keep delicate greens, avocado, crisp garnishes, and some sauces separate until serving.
- What will be eaten within the refrigerator window? Cooked leftovers are generally kept for three to four days at 40°F (4°C) or below.1
- What should be frozen? Freeze portions intended for later use promptly instead of waiting until the end of the refrigerator window.
Avoid building the session around an idealized seven-day menu. A smaller batch that gets eaten is more useful than a large batch that crowds the refrigerator and is forgotten.
Equipment that earns its space
The basic kit is ordinary kitchen equipment:
- an instant-read food thermometer;
- separate cutting boards or work areas for raw animal foods and ready-to-eat ingredients;
- a sharp knife, tongs, and utensils that are not reused between raw and cooked food without washing;
- one or more sheet pans, plus the pot or skillet required by the chosen recipes;
- shallow containers with secure lids for rapid cooling;
- freezer-safe containers or wraps for anything being frozen;
- removable labels, freezer tape, or a marker that will remain legible in cold storage.
A scale, food processor, multicooker, or vacuum sealer may be convenient, but none is required. Container shape matters more than a matching set: shallow containers let a hot batch cool faster than one deep stockpot does.
Build a component matrix
Choose across the three columns below. The examples are starting points, not a nutrition prescription. Check recipe ingredients, allergens, and labels against the needs of the people eating the food.
| Protein component | Vegetable component | Sauce or finishing component |
|---|---|---|
| Roasted or poached chicken | Roasted broccoli, cauliflower, peppers, or green beans | Herb vinaigrette kept in a separate container |
| Meatballs, patties, or crumbled ground meat | Cabbage, mushrooms, aubergine/eggplant, or courgette/zucchini | Tomato sauce whose current label fits the plan |
| Baked fish for early-week meals | Cooked leafy greens or roasted asparagus | Lemon-herb oil added after reheating |
| Tofu or tempeh prepared according to the package or recipe | Slaw vegetables stored without dressing | Tahini, pesto, or another allergen-checked sauce |
| Eggs prepared for refrigerator use | Washed salad greens and chopped sturdy vegetables | Yogurt dressing or another refrigerated sauce |
Sturdy cooked vegetables usually tolerate reheating better than dressed leaves or cut watery vegetables. Keep crunchy toppings, leafy greens, and dressings separate. The freezing and storage guide explains which textures are most likely to change in the freezer.
The matrix makes substitutions easier. If the planned fish is unavailable, another recipe-tested protein can occupy that column. If a sauce contains an allergen, choose a different finish without rebuilding every meal.
Shop from the plan
Check the refrigerator, freezer, and cupboards first. Then use the keto grocery shopping list as a category reminder, not as an instruction to buy every item.
Before checkout:
- total the quantities required by the recipes you selected;
- note ingredients used in more than one component;
- check package serving information, total carbohydrate, ingredient lists, and allergen statements;
- compare the amount you can safely use or freeze, not only the unit price;
- choose frozen or shelf-stable backups for meals likely to be disrupted;
- keep raw meat, poultry, seafood, and eggs separate from ready-to-eat foods in the cart and shopping bags.
FoodSafety.gov advises placing raw meat, poultry, and seafood in separate bags when available and storing them in sealed, leakproof containers or bags at home.2 If you will not cook a raw item within its category-specific refrigerator window, freeze it promptly and follow the package directions.
Use a safe prep sequence
Read every chosen recipe before turning on the oven or hob. The safest efficient sequence keeps ready-to-eat food away from raw-food work:
- Clear and clean the work area. Wash hands with soap and water for at least 20 seconds. Set out shallow storage containers and label materials.
- Prepare ready-to-eat ingredients first. Rinse produce under running water. Do not wash raw meat or poultry, which can spread contaminated droplets around the sink and nearby surfaces.2
- Start the longest cooking process. Use the recipe rather than a generic batch-cooking time. Arrange pans so food can cook evenly.
- Handle raw animal foods in a separate area. Use separate boards, plates, and utensils. Wash hands and food-contact surfaces before returning to cooked or ready-to-eat food.
- Measure cooking endpoints. Color and cooking time alone do not establish safety. Check the thickest part with a food thermometer and use the federal safe minimum internal temperature chart for the specific food.3
- Finish cold components with clean utensils. Mix dressings and portion garnishes away from the raw-food station.
- Begin cooling promptly. Divide cooked food into shallow containers. Do not leave a deep pot on the counter while completing the rest of the session.
This sequence can be shortened for a small batch. The order stays useful because it reduces cross-contamination and moves cooked food into safe storage promptly.
Cool, label, and store the batch
The US Department of Agriculture Food Safety and Inspection Service (USDA FSIS) advises refrigerating perishable leftovers within two hours of cooking or removal from hot holding. When the surrounding temperature is above 90°F (32°C), the limit is one hour. Divide large batches among shallow containers so they cool quickly. Hot food can go directly into the refrigerator; leaving it on the counter to reach room temperature adds unsafe time.1
Keep the refrigerator at 40°F (4°C) or below and the freezer at 0°F (-18°C) or below. An appliance thermometer checks the storage temperature independently of the control dial.2
Each container label should record:
- the component or dish name;
- the date it was cooked;
- the date it was frozen, if different;
- any allergen or household handling note that another person needs;
- a short assembly or reheating cue when the contents are not obvious.
Use refrigerated cooked leftovers within three to four days. The FoodSafety.gov cold-storage chart gives more specific limits for raw foods and individual cooked categories.4 Smell and appearance cannot prove that a perishable food is safe. If the time or temperature history is unknown, discard it.
When reheating prepared leftovers, bring every part to 165°F (74°C), measured with a food thermometer. Cover and stir or rotate microwave-heated food, allow the stated standing time, and check more than one spot because microwaves can leave cold areas.1
Assemble meals without locking in the week
Keep a short list of combinations on the refrigerator door or container labels:
- protein plus roasted vegetables and a separate sauce;
- sliced protein over greens, with dressing added immediately before eating;
- cooked vegetables and protein reheated together, then finished with herbs, citrus, or oil;
- a recipe-based soup, stew, or casserole portion from the freezer;
- lettuce wraps or a plate assembled from cold components that stayed within their storage instructions.
Use clean utensils when removing part of a batch. Return the container to refrigeration promptly rather than leaving the full batch on the table through the meal.
If the same component is repeatedly left over, change the next shopping list. The repair may be a smaller recipe, one fewer prepared component, or an earlier freezer decision. Meal prep should create usable options, not a weekly obligation to finish food you no longer want.
Keto meal-prep questions
How many days can cooked meal prep stay in the refrigerator?
Should hot meal-prep food cool on the counter before refrigeration?
Do I need to prepare complete meals in advance?
Does the Meal Template Builder calculate meal-prep portions or macros?
What temperature should meal-prep leftovers reach when reheated?
Sources
Article history
- Expanded with a flexible batch-prep workflow and USDA food-safety guidance
- First published
Your learning guide